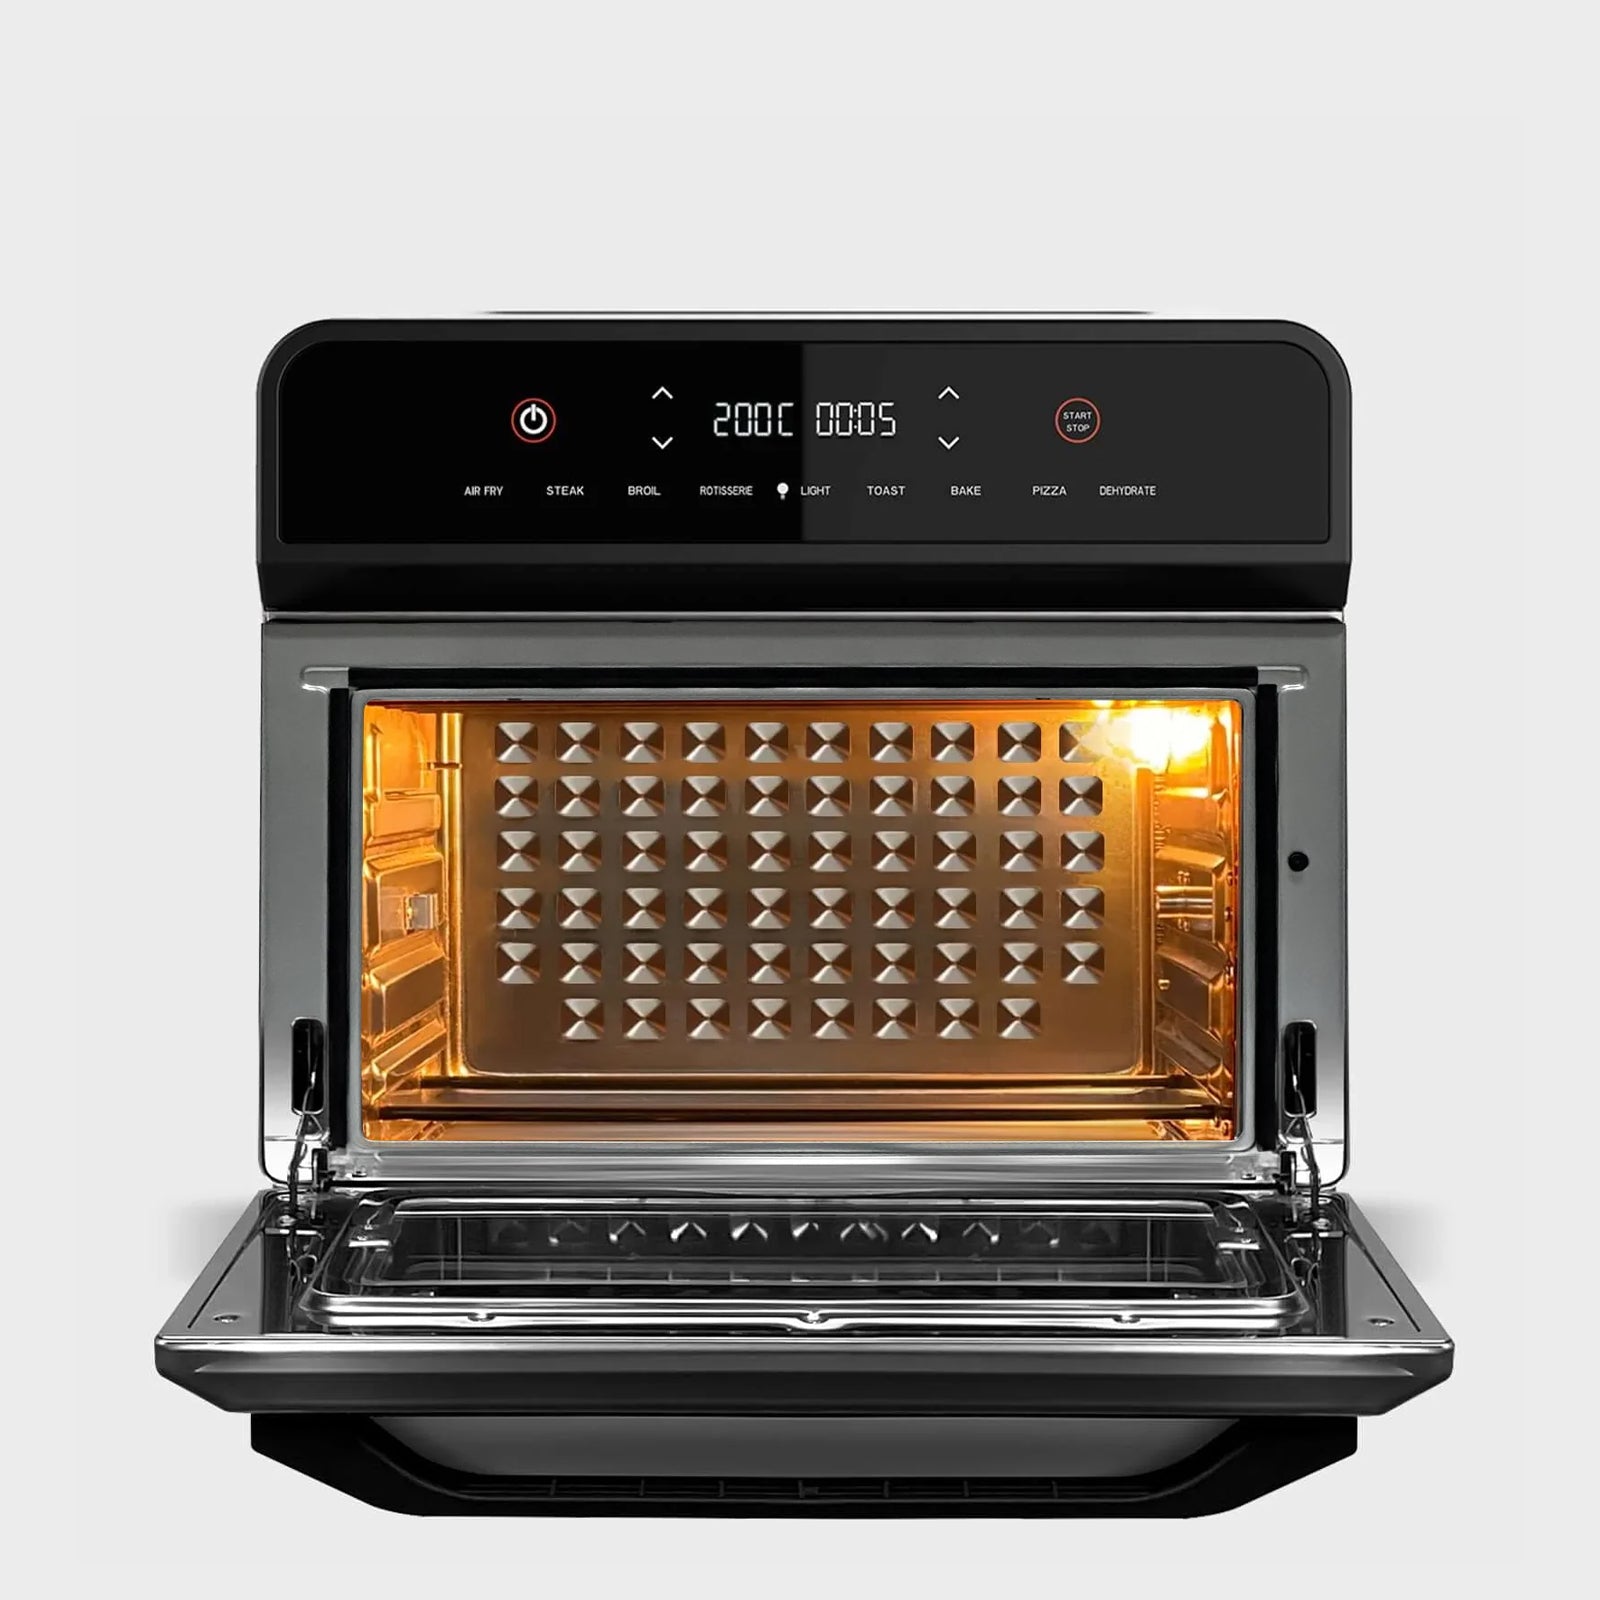
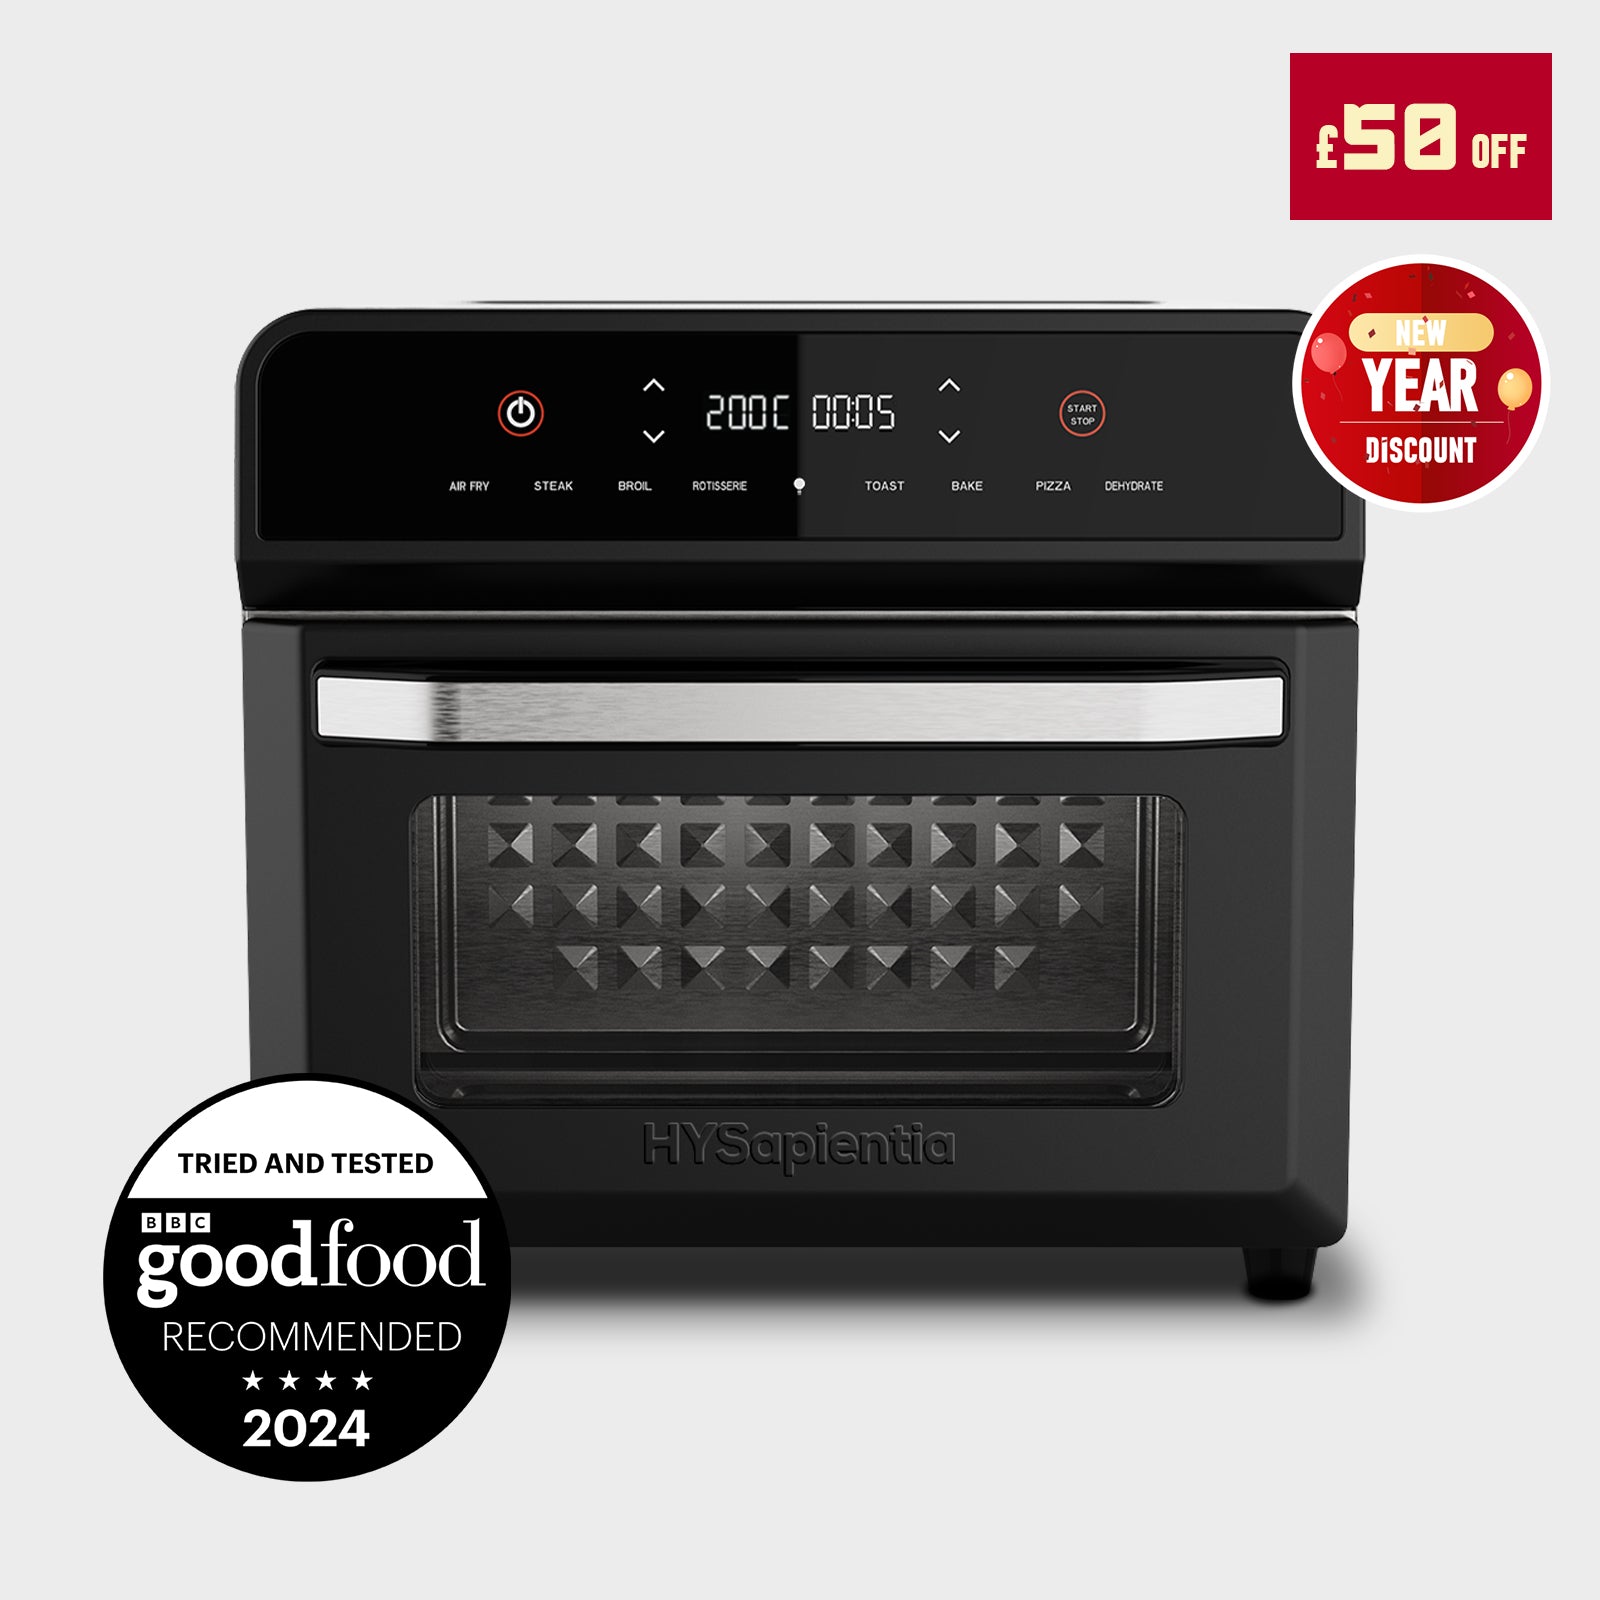
Wondering how to clean your air fryer? Look no further! At HYSapientia, we know that a spotless air fryer is essential for achieving the best performance and enjoying the most delicious, healthiest meals. As a leading air fryer manufacturer, we’re excited to share our expert knowledge and tips with you. In this comprehensive guide, we’ll walk you through everything you need to know: from basic cleaning steps that anyone can follow, to tackling those pesky stubborn stains that seem impossible to remove. We’ll also introduce you to natural cleaning methods that are not only highly effective but also eco-friendly. With HYSapientia's professional insights and practical advice, you’ll have all the tools you need to keep your air fryer in perfect condition. So, let’s get started and transform you into a cleaning expert, ensuring your air fryer remains your favorite kitchen companion for years to come!
1. Preparing Your Cleaning Supplies and Tools
Before diving into the cleaning process, it's important to gather all the necessary tools and supplies. Here’s what you’ll need:
Basic Tools:
-
Soft brush: Helps to gently scrub away food residues without scratching the surfaces.
-
Sponge: A non-abrasive sponge is ideal for cleaning the interior and exterior of the air fryer.
-
Mild dish soap: A gentle cleanser that effectively removes grease and food particles without leaving harmful residues.
-
Warm water: Essential for dissolving soap and rinsing parts clean.
-
Dry cloth or paper towels: For drying parts thoroughly to prevent rust and mold.
Recommended Tools:
-
Magic eraser:Effective for removing tough stains without damaging surfaces.
-
Specialized cleaning brush: Designed specifically for air fryer components, making it easier to reach small crevices.
-
Baking soda and vinegar:Natural cleaning agents that are great for tackling grease and odor.
Having these tools on hand will make the cleaning process much smoother and more efficient.

2. Basic Cleaning Steps
Step 1: Unplug and Cool Down
Safety first! Always start by unplugging your air fryer and allowing it to cool down completely. This prevents any risk of electric shock and ensures you won’t burn yourself on hot surfaces.
Step 2: Disassemble the Air Fryer
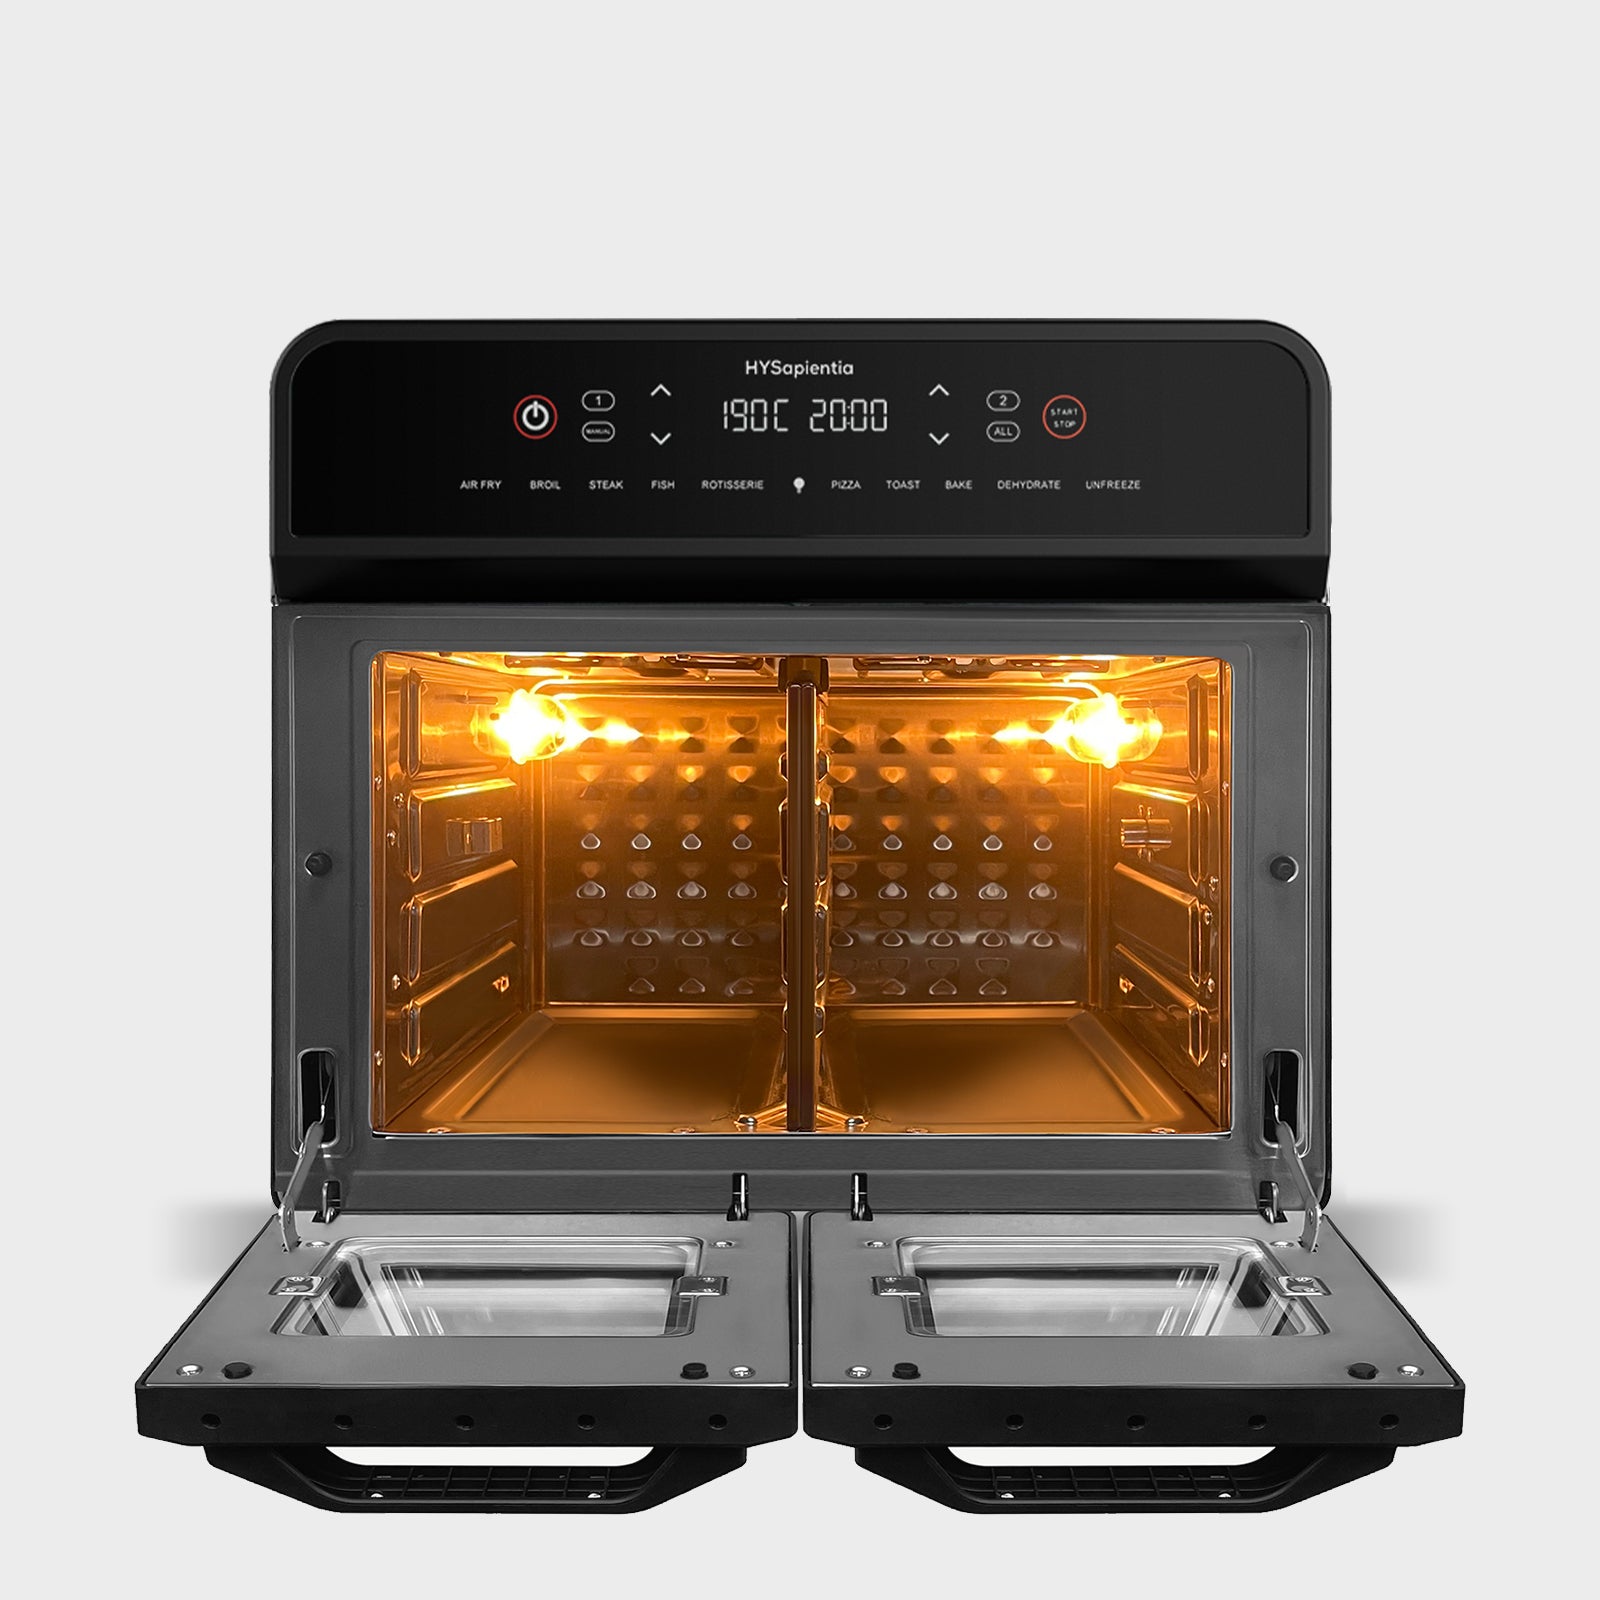
Carefully take apart your air fryer. Most models allow you to remove the basket, tray, and sometimes additional components like the drip tray or grill. If you have a dual air fryer, you’ll need to disassemble both compartments. Refer to your user manual if you’re unsure how to disassemble your specific model. Disassembling makes it easier to clean each component thoroughly.

Step 3: Clean Removable Parts
Fill your sink or a large basin with warm water and add a few drops of mild dish soap. Place the removable parts (basket, tray, air fryer racks, etc.) into the soapy water and let them soak for about 10-15 minutes. This helps to loosen any stuck-on food particles.
After soaking, use a soft brush or non-abrasive sponge to gently scrub the parts. Pay special attention to corners and crevices where food tends to accumulate. Rinse each part thoroughly with warm water to remove any soap residue, and then dry them with a clean cloth or paper towels.
Step 4: Wipe Down the Interior and Exterior
Dampen a soft cloth or sponge with warm water and a bit of mild dish soap. Wipe down the interior of the air fryer, being careful around the heating element. For the exterior, gently wipe away any grease or splatters. Use a clean, damp cloth to wipe away any soap residue, then dry with a clean cloth.
Step 5: Reassemble the Air Fryer
Once all parts are completely dry, reassemble your air fryer. Make sure everything is securely in place before plugging it back in. This ensures that the air fryer functions properly and safely during your next use.
3. Tackling Stubborn Stains
Despite your best efforts, some stains and residues can be stubborn. Here are a few methods to handle these tough spots:
Method 1: Baking Soda Paste
For stubborn, burnt-on food residues, a baking soda paste works wonders. Mix baking soda with a little water to form a thick paste. Apply this paste to the stubborn spots and let it sit for 15-20 minutes. This allows the baking soda to break down the residue. After waiting, use a soft brush to scrub away the paste, then rinse thoroughly and dry.

4. Post-Cleaning Odor Removal
Even after cleaning, your air fryer might retain some odors from previous cooking. Here are a few tips to keep it smelling fresh:
Tip 1: Lemon Slices
Place a few lemon slices inside the air fryer basket and let it sit overnight. The natural oils in the lemon help neutralize odors and leave a fresh scent. This is a simple and natural way to keep your air fryer smelling great.

Tip 2: Coffee Grounds
Leave a small bowl of used coffee grounds inside the air fryer for a few hours. Coffee grounds are excellent at absorbing odors. This method is especially useful if you've cooked something particularly strong-smelling, like fish.

Tip 3: Charcoal or Baking Soda
Place a small container of activated charcoal or baking soda inside the air fryer when it's not in use. These substances are great at absorbing lingering smells. Simply replace them every few weeks to keep the air fryer fresh.
Further reading:What Should I Use to Remove the Odor in the Air Fryer?
5. Common Cleaning Mistakes and How to Avoid Them
Cleaning your air fryer correctly is important to avoid damage and ensure longevity. Here are some common mistakes to watch out for and how to avoid them:
Mistake 1: Using Abrasive Materials
Using steel wool or harsh scrubbers can scratch the non-stick surface of your air fryer, leading to damage and reduced performance. Always use soft brushes or non-abrasive sponges to clean your air fryer.
Mistake 2: Submerging the Entire Unit
Never submerge the entire air fryer in water. This can damage the electrical components and pose a safety risk. Only the removable parts should be washed in the sink. Use a damp cloth to wipe down the main unit.
Mistake 3: Overusing Chemical Cleaners
While it might be tempting to use strong chemical cleaners to cut through grease, they can leave harmful residues that can contaminate your food. Stick to mild dish soap or natural cleaning solutions like vinegar and baking soda.
Mistake 4: Ignoring the Heating Element
The heating element is a crucial part of your air fryer and should be cleaned carefully. Avoid getting it too wet and never use abrasive materials on it. Instead, gently wipe it down with a damp cloth.
6. Natural Cleaning Methods
Natural cleaning methods are not only effective but also safe for you and the environment. Here are a few to try:
Method 1: Lemon and Baking Soda
Create a natural cleaning solution by mixing lemon juice with baking soda. This mixture not only cleans but also leaves a fresh scent. Apply it to the air fryer surfaces and scrub gently before rinsing. This method is great for tackling grease and grime without harsh chemicals.
Method 2: Vinegar Solution
Mix equal parts white vinegar and water in a spray bottle. Spray the solution onto greasy areas, let it sit for a few minutes, and then wipe clean with a damp cloth. Vinegar is a powerful natural cleaner that can dissolve grease and disinfect surfaces.
Method 3: Orange Oil Cleaner
Orange oil cleaners are effective and smell great. Apply the cleaner to a cloth and wipe down the air fryer surfaces, paying special attention to any sticky or greasy spots. Orange oil cuts through grease and leaves a pleasant citrus scent.
7. Storing and Protecting Your Air Fryer
Proper storage is essential to keep your air fryer in good condition when not in use. Follow these steps to ensure it stays clean and ready for your next cooking session:
Step 1: Ensure Complete Dryness
Before storing your air fryer, make sure all parts are thoroughly dry. Any remaining moisture can lead to mold, mildew, or rust. Use a dry cloth to wipe down all surfaces and components one last time before storage.
Step 2: Reassemble and Store
Put the air fryer back together and store it in a dry, cool place. If possible, use a dust cover to keep it clean and dust-free. Avoid storing it in a damp or humid environment, as this can damage the electrical components.
Step 3: Regular Maintenance
Regularly check and clean the air fryer, even if it's not in use, to maintain its condition. This includes wiping down the exterior to remove any dust and checking the power cord and plug for any signs of wear or damage. Keeping your air fryer in good condition will ensure it’s always ready for use.
Keeping your air fryer clean doesn't have to be a daunting task. By following these simple and effective steps, you can ensure that your air fryer remains in peak condition, consistently delivering delicious and healthy meals. Regular maintenance not only enhances the performance and longevity of your appliance but also ensures that every meal you prepare is cooked to perfection, free from lingering odors and residue.
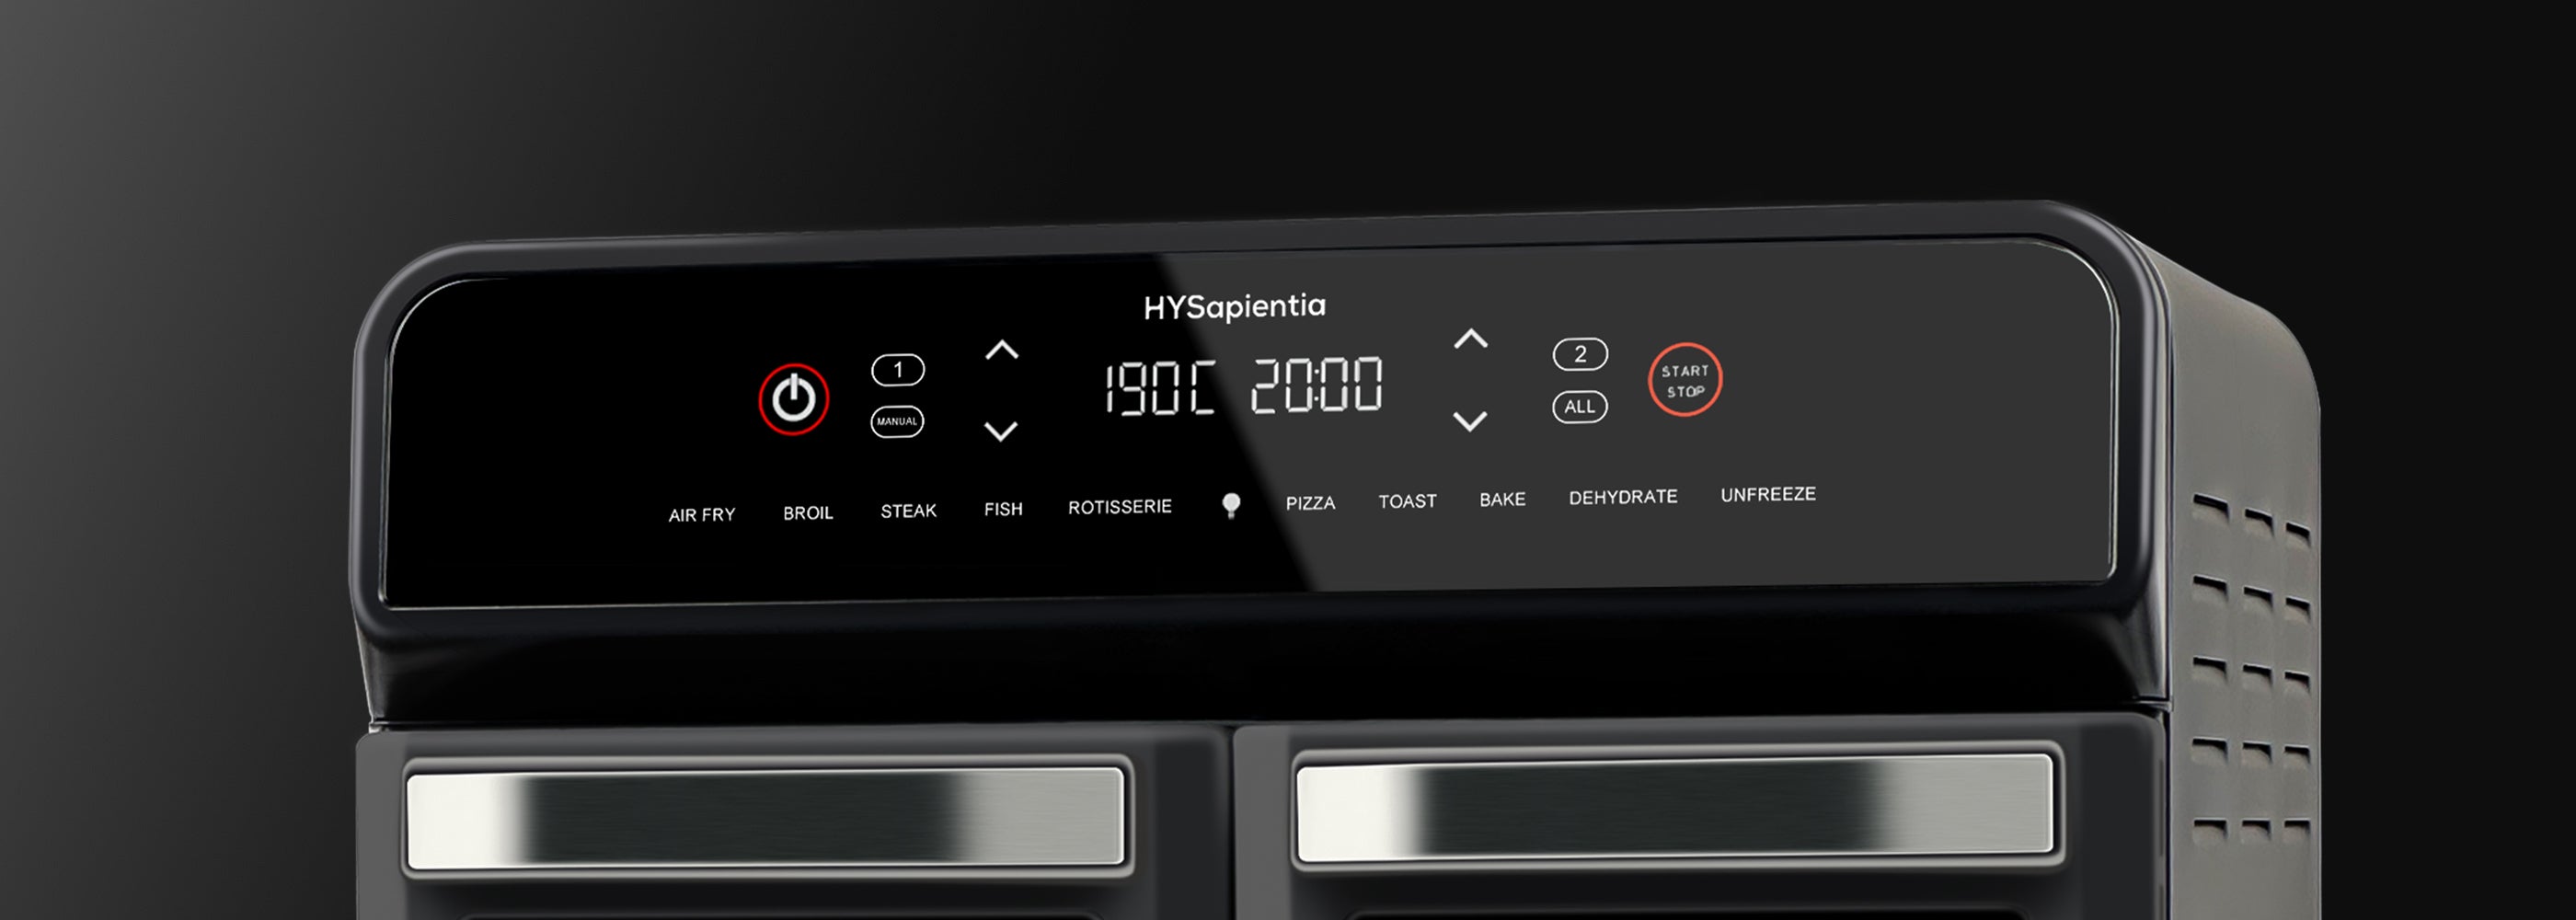
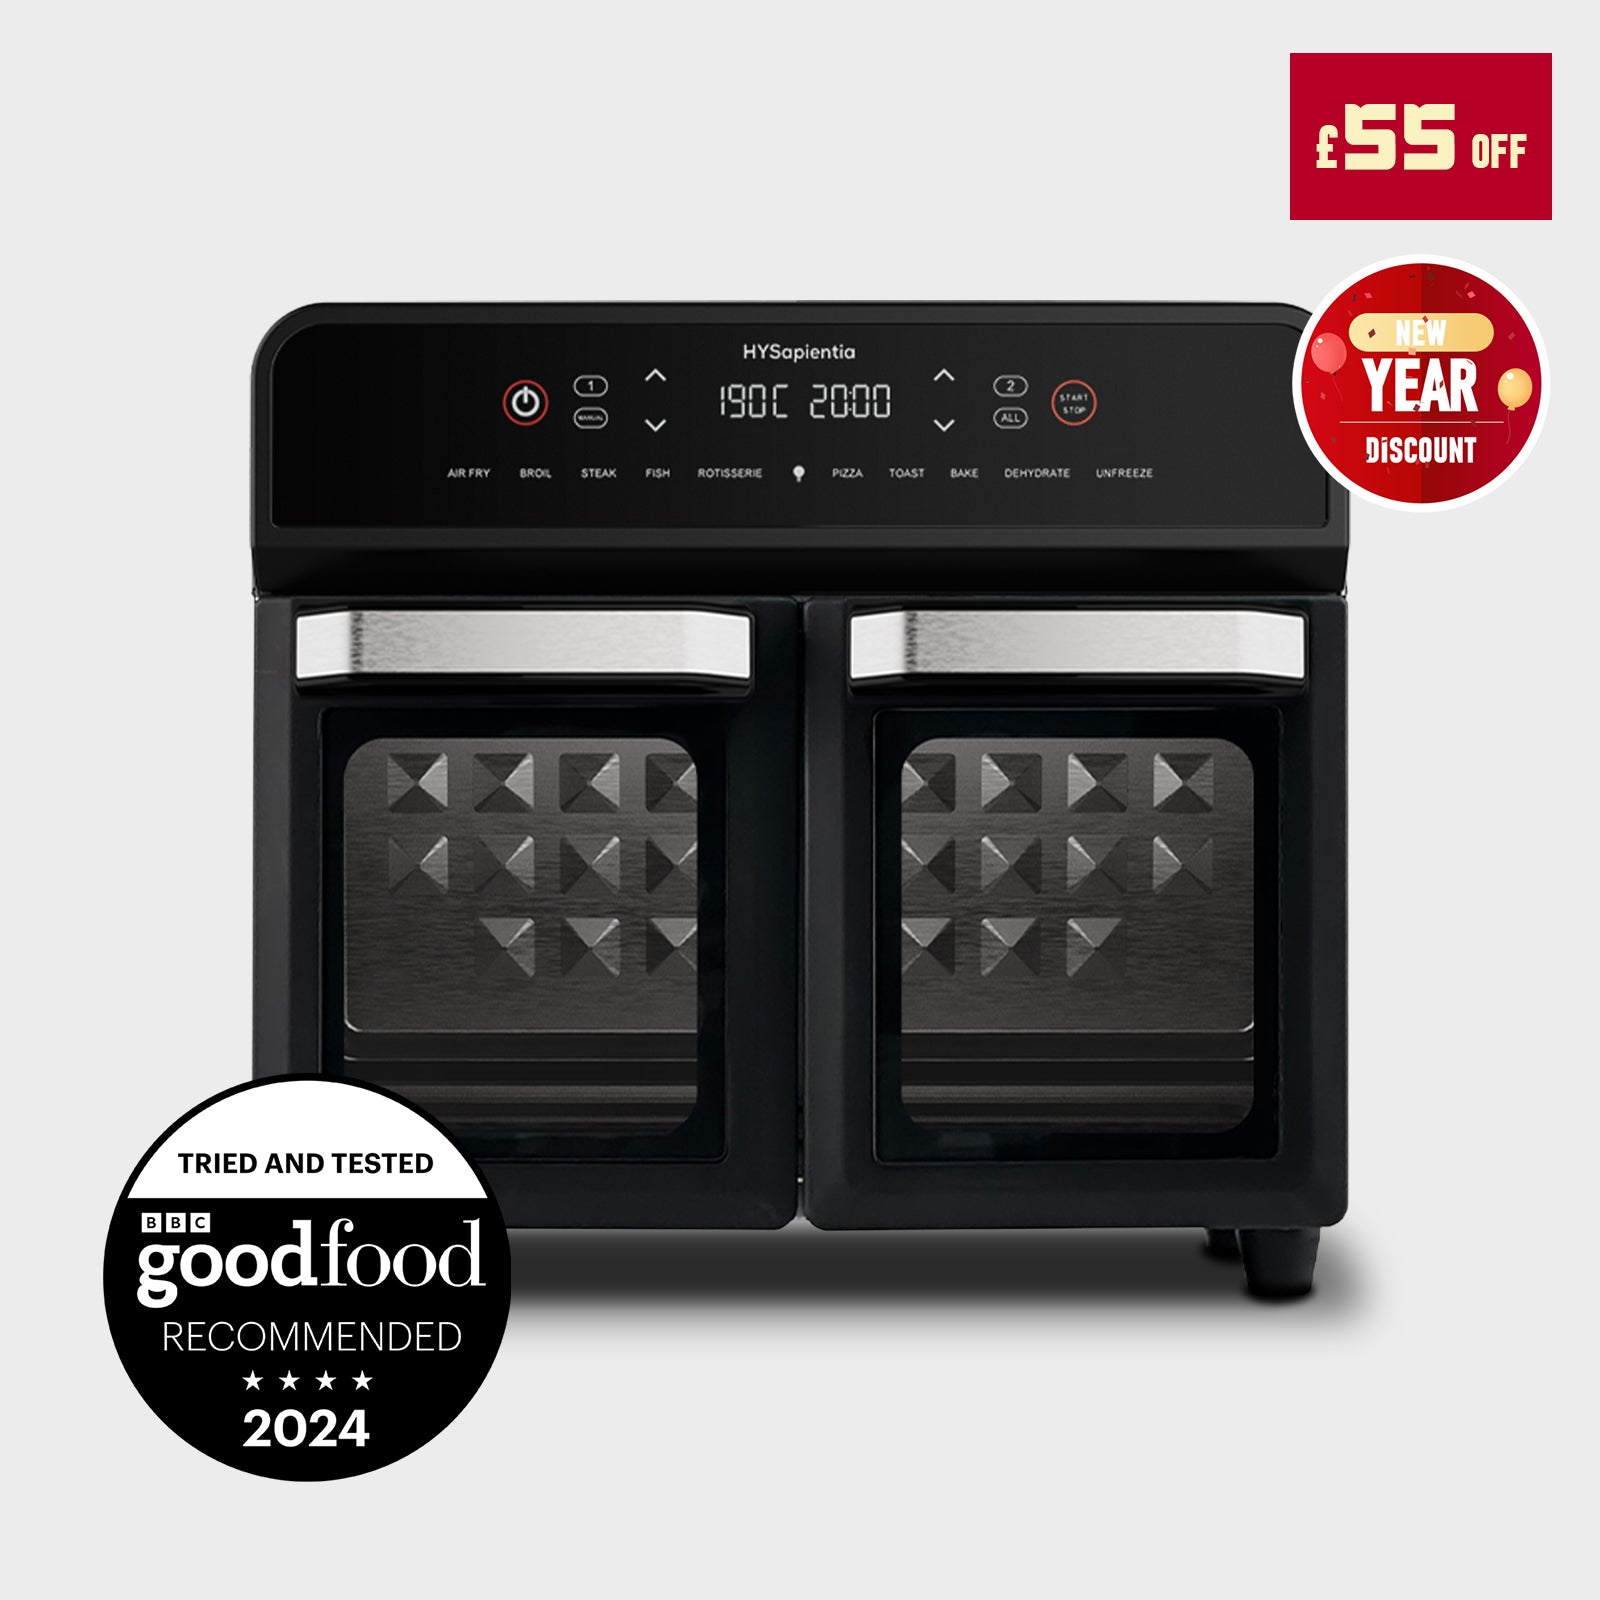
For those looking to upgrade their cooking experience, we highly recommend the HYSapientia 11.5L Dual Zone Digital Air Fryer. This innovative air fryer offers advanced features and dual-zone cooking capabilities, making meal preparation easier and more efficient than ever. With its sleek design and user-friendly digital controls, the HYSapientia 11.5L Dual Zone Digital Air Fryer is perfect for any kitchen.

